|
Five Easy Steps to Sprouting with a Victorio four tray crop sprouter: I recently became interested in sprouting and after researching how to sprout through mason jars and racks, I picked up the Victorio sprouter in hopes that it would be easier and less time consuming (also better drainage). And I wasn’t disappointed. I’m trying to shift my diet to a less… chocolate and fried snack-aholic’s anonymous diet. And this is a good step in the healthy direction. I also love to garden, but winter just hit here and I don’t want to lose the progress I made adding veggies to my meals. Hence: sprouts! This sprouter was really easy to use and so far I haven’t had any problems. Let me break it down for you in five easy steps.
Here’s the link to the sprouter on amazon for $14: http://a.co/afZDM5D Here’s a link for one pound of alfalfa seeds on amazon for $12: http://a.co/3qNMynT
0 Comments
by 2 Nerd GirlsIt’s that time of year again and usually that means a crazy amount of sewing for us since we love to make things for our loved ones. This year we decided to treat ourselves to a couple of nerdy Christmas dresses. When we saw New Look Pattern 6723 we knew we had found a winner. Since Becca already made her Rudolph the Red-Nosed Reindeer dress BEFORE this video *ahem-impatient-girl* we decided to film a tutorial for F.M.’s dress. BUT… Becca did record her journey of making a dress with Santa’s favorite reindeer plastered all over it! Here’s a quick time-lapse! We stuck to the pattern’s directions with only a few deviations of our own. F.M. decided to use biased tape as a nice accent to the dress, bringing out the bright greens from the Star Wars fabric. She also made a sash and framed it with the same biased tape making the whole look come together beautifully.  This pattern isn’t particularly hard if you’re an intermediate or advanced seamstress. Beginners could definitely tackle this pattern, but some basic knowledge in basting, gathering and zippers is needed. It’s amazing at how intimidating a zipper can be, but they’re really quite easy once you get the hang of them. Our video tutorial takes you through the process of using this pattern, which basically boils down to three steps: Step One: Sewing the bodice together. Step Two: Sewing the skirt together. Step Three: Sewing the two together for the finished product! Watch and enjoy! May the sewing gods be ever in your favor and may you end up with adorable nerdy Christmas dresses like ours! Happy Holidays! 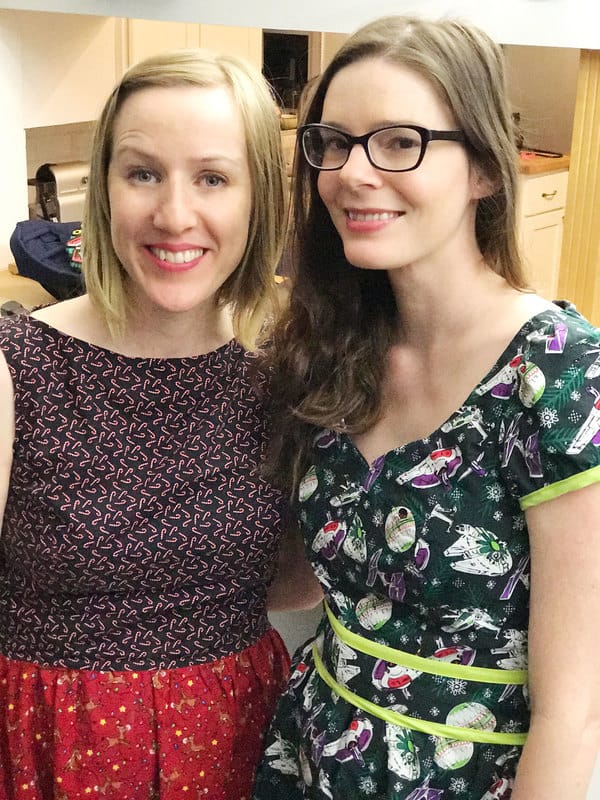 by Becca C. Smith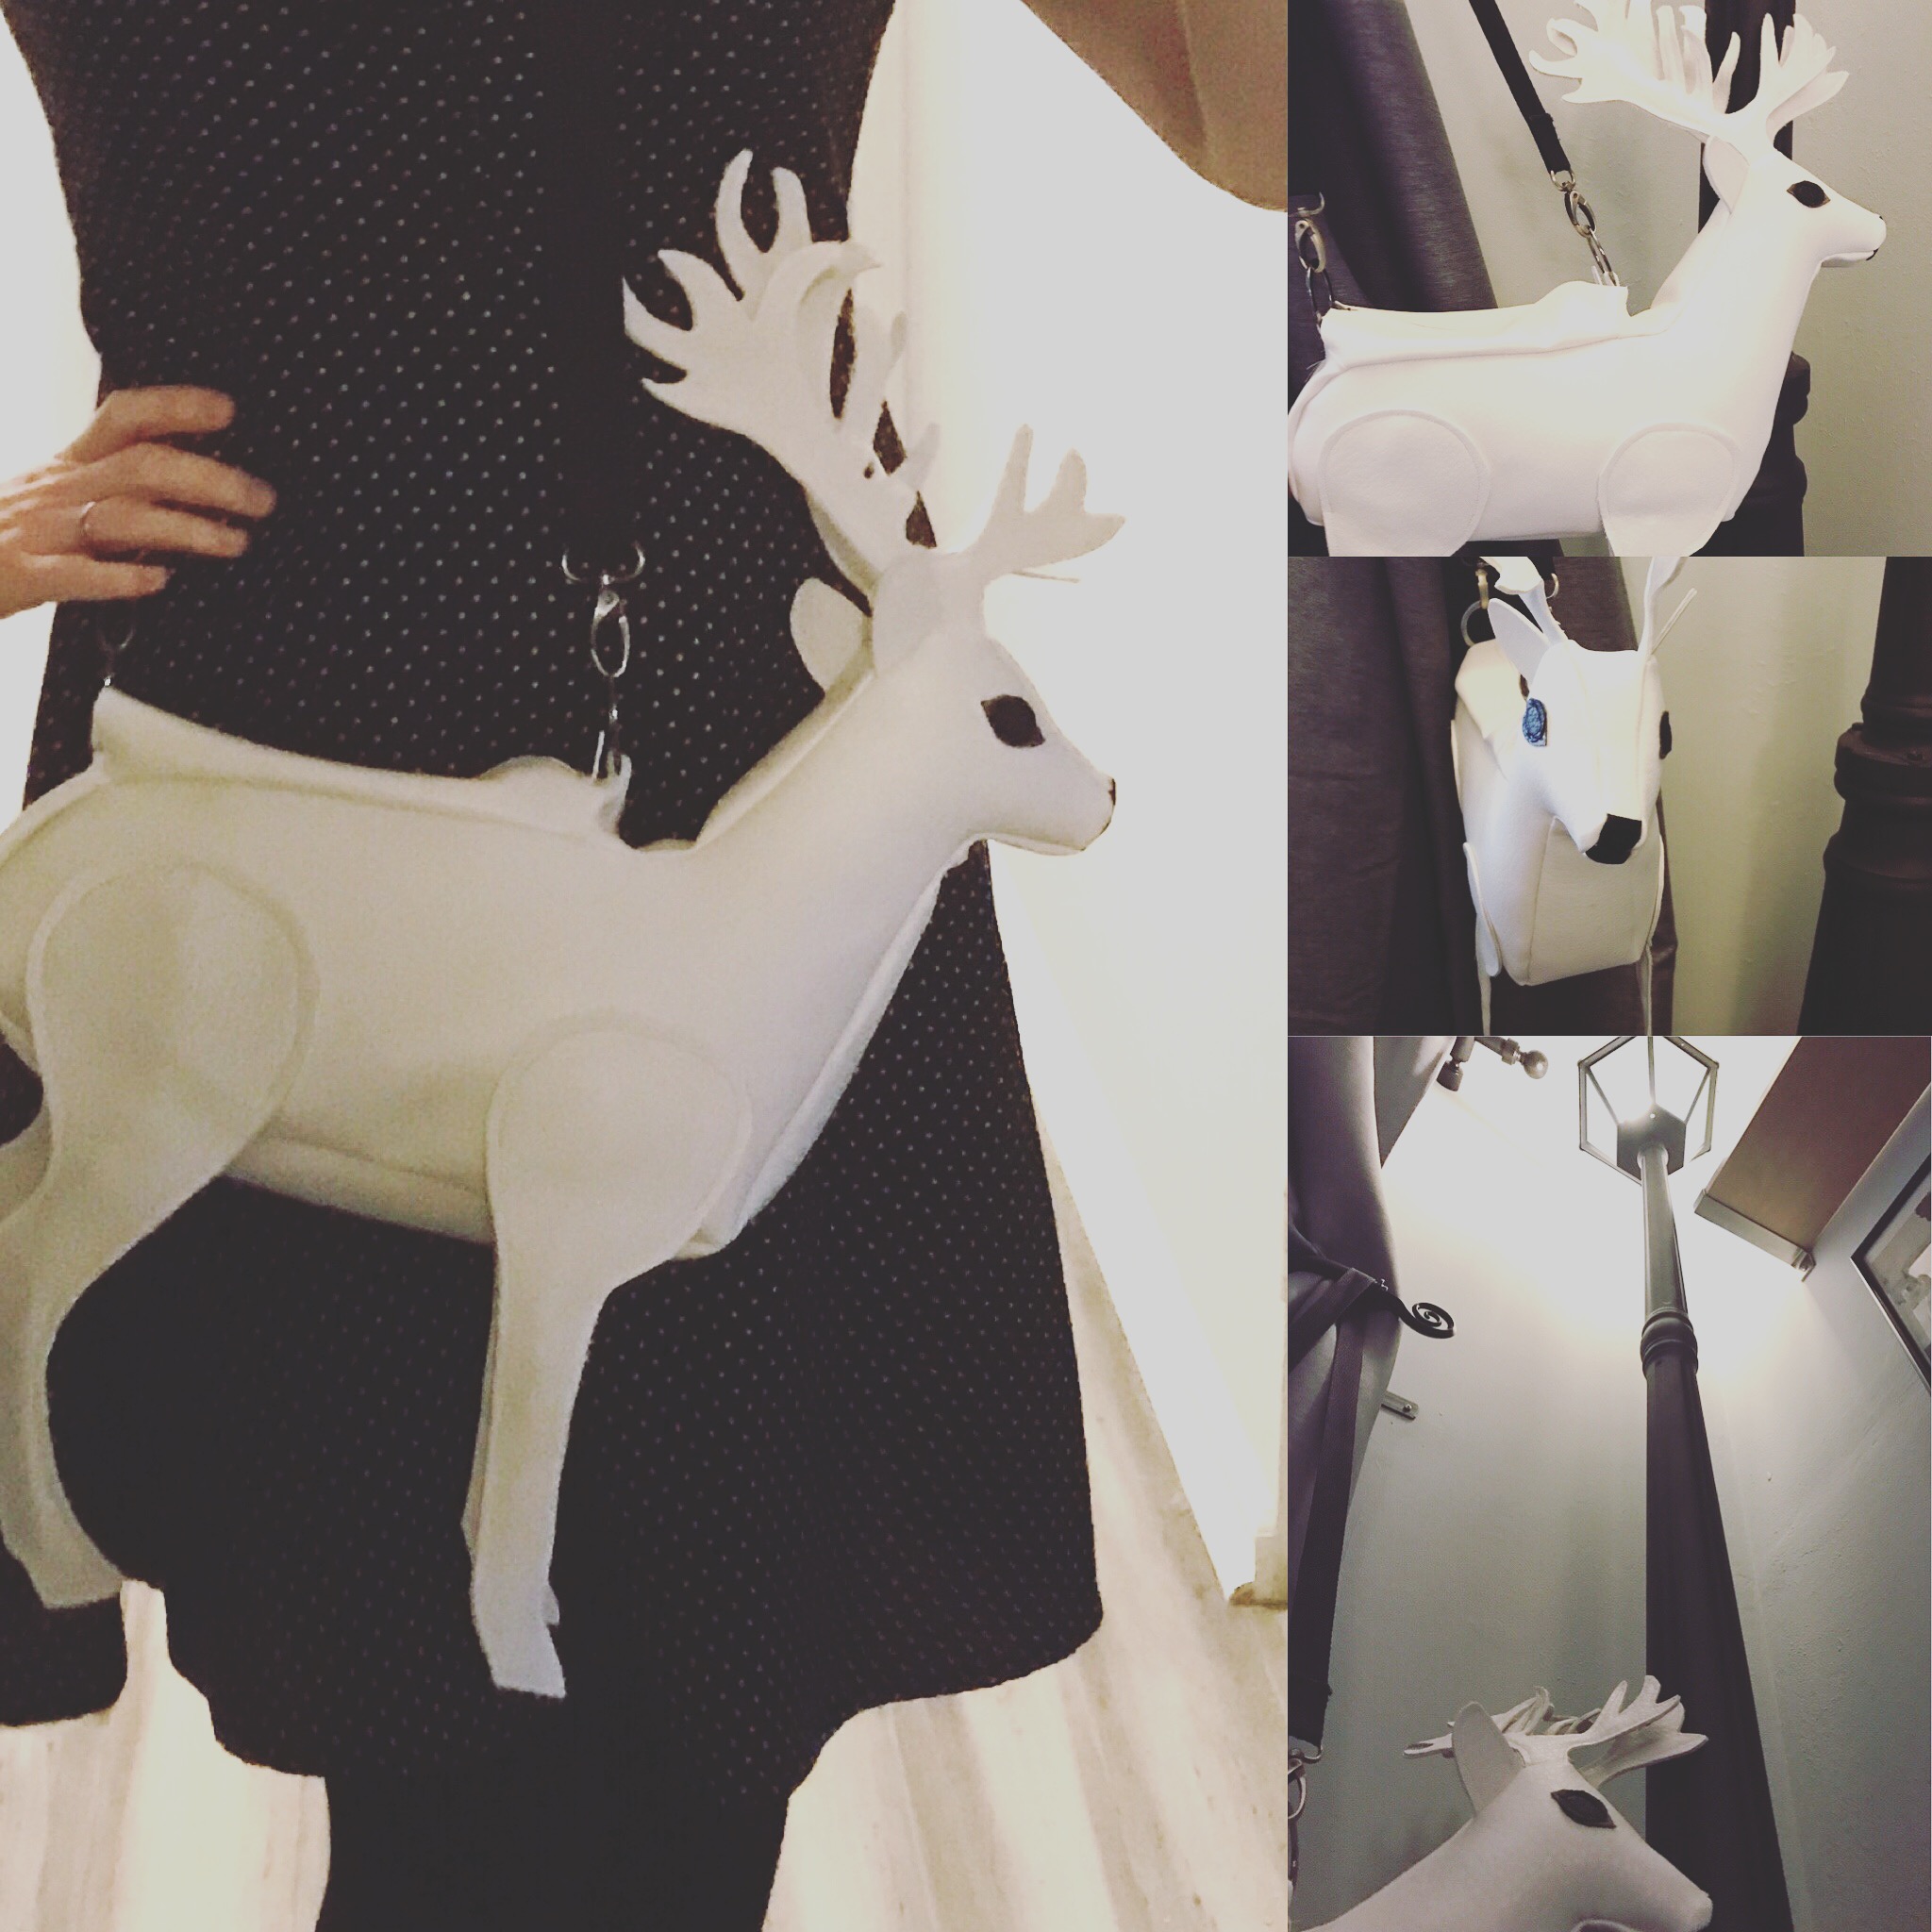 I love The Chronicles of Narnia. This was the very first book series I read as a child. At the end of The Lion, the Witch and the Wardrobe, the Pevensie siblings are searching for the White Stag, which is said to grant your wishes if you can catch it. I pretty much searched for the door to Narnia my entire childhood and to be honest, I’m still looking for it lol! So, it’s with much love, that I decided to make a bag of the White Stag! The video says it all: from inception to finished product. But if you don’t have time for the thirty-minute video, here’s a break down of everything that I filmed! Step One: The pattern. When I first decide to make a bag I have to visualize a pattern in my head. This can take two minutes or two days depending on how difficult the idea is. For the White Stag I knew I could use actual pictures of stags as my base. I simply found a profile shot of a stag on the Internet and enlarged the body to the size of a standard sheet of paper (8.5” x 11”). I printed it out, then proceeded to print out all the other parts of the stag as well. Taping the pages together I had a basic pattern for my bag. Then I cut all the different components of the stag: the legs, the ears, the eyes, the antlers, and the nose. Tracing those on cardstock, I now have a pattern I could use. Step Two: Cutting the fabric. This one is pretty self-explanatory! Using the pattern I just made I cut out all of the pieces I need to put the bag together. I also cut two side panels the size of the bag’s opening for the zipper! I like using open-end zippers because it gives me more space to put things inside the bag. Considering the fact that I have to stuff the head and butt so the stag can keep its shape, I need as much room as possible! Step Three: Gluing. This is a very important step. When dealing with vinyl, it tends to slip while sewing. In order to prevent this, I glue everything together first. In the case of the White Stag this was extra important because I put in wires as well to help keep the legs stiff and the antlers malleable. Next, I glue all the pieces that need gluing together and place a few heavy books on top to keep them flat. It takes a while for the glue to dry, especially considering how much of it I use! I usually give it a day or two, just to be safe! I don’t want to muck up my sewing machine with glue! Step Four: Sewing. Now that everything is all cut out and glued, it’s time to sew! The first thing I do is what I like to call: preparing the pieces. Basically, this means that I sew everything that needs to be sewn individually (like the eyes, legs, ears and antlers). Then I sew those pieces on the body itself. After that I put the whole thing together! Easier said than done, but pins make it much easier! Pins and markers. Sometimes it’s nice just to make a small little dot of ink on each piece of fabric, then match up the dots and sew! Step Five: Enjoy! That’s it! The bag is done! Now that I’ve made the White Stag I can officially make my wish! Here's a time-lapse of the entire process! |
AuthorWe are F.M. Sherrill & Becca C. Smith: two writers who live in L.A., and are basically addicted to all things sci-fi and fantasy! Archives
February 2017
Categories |
 RSS Feed
