|
If you sew a lot of vinyl like we do, you’re probably used to beating your head against your machine from frustration. From breaking needles, to the fabric sticking to the base plate, to your machine stopping mid-stitch because the vinyl is too thick to sew through, we’re going to give you three tips that will make sewing with vinyl a little easier!
1. Use Jeans/Denim sewing needles. 
We learned this over time and as stated above through a lot of broken needles! We were always told that leather needles were the best for vinyl. This is not true at all. Leather needles are thick, sturdy and sharp because they have to essentially penetrate through skin! Vinyl is plastic so thicker needles end up breaking after a while. Denim needles are thinner and sharper, making it much easier to pierce the vinyl’s plastic surface. This is a life saver! No more buying oodles of leather needles!
2. Pick smoother vinyls. This is key to making your life easier when sewing with vinyl. One of the main problems of sewing with vinyl is when it sticks to the base plate of the machine. The fabric itself is sticky, so it shouldn’t come as a shock that it has trouble moving through a sewing machine. In the past, pretty much all vinyl was sticky and not even a Teflon presser foot would make much difference, but nowadays they make vinyl with a much smoother surface. If you’re like us, you like the textured vinyl (we make a lot of bags and shiny doesn’t work for us!). But textured vinyl, especially the matte kind, tends to run sticky. A quick test: rub your hand over the fabric. If you feel any stick, steer clear. If it feels slippery, you’ve found your match! Trust us, smooth vinyl is where its at! 3. Glue! 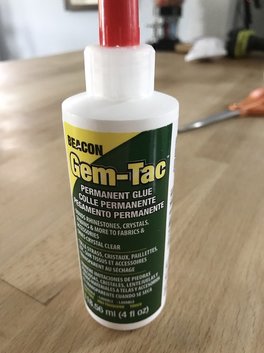
If you like to sew designs onto your vinyl projects you know that pinning isn’t an exact science. Often times, vinyl will slip and become crooked when pinned.
Gluing is the key! And after years of searching, we finally found a glue that basically cements the fabric together making it smooth sailing when sewing! Gem-Tac. This is the god of all glues! And we’ve tried them all! If you don’t want your designs to pop off in the middle of sewing because the glue isn’t strong enough then Gem-Tac will become your best friend. We love it so much, we’ve left a link to it below! Hope these tips helped!! And happy sewing!
0 Comments
By 2NerdGirls  One thing we know as writers: sprinting is a must! For those of you that don’t know what a ‘sprint’ is: it’s when you designate a specific amount of time for focused writing. Sprints can be any amount of time you want really. We know writers that live by the ten-minute sprint, which can be quite fun actually. It’s amazing at how much you can get done when you completely focus for even just five minutes! We usually do one-hour sprints. It gives us enough time to get some good work done and at the same time doesn’t feel like a daunting number. So, how do you make it a part of your daily routine? Here’s three ways that we use to keep us sprinting and finishing our novels! 1. Put it in your calendar. Sound too obvious? Sometimes the most obvious answers are the right ones. You’d be amazed at how simply writing: 'Writing Sprint' in your daily calendar will keep you on track. You can even add an alarm if you know the time you’ll be able to sprint. If you’re like us, your schedule is all over the place so setting up an exact time every day doesn’t always work. But as long as you squeeze in your sprint every day, writing it down in the calendar is just a way to keep you focused and on track. 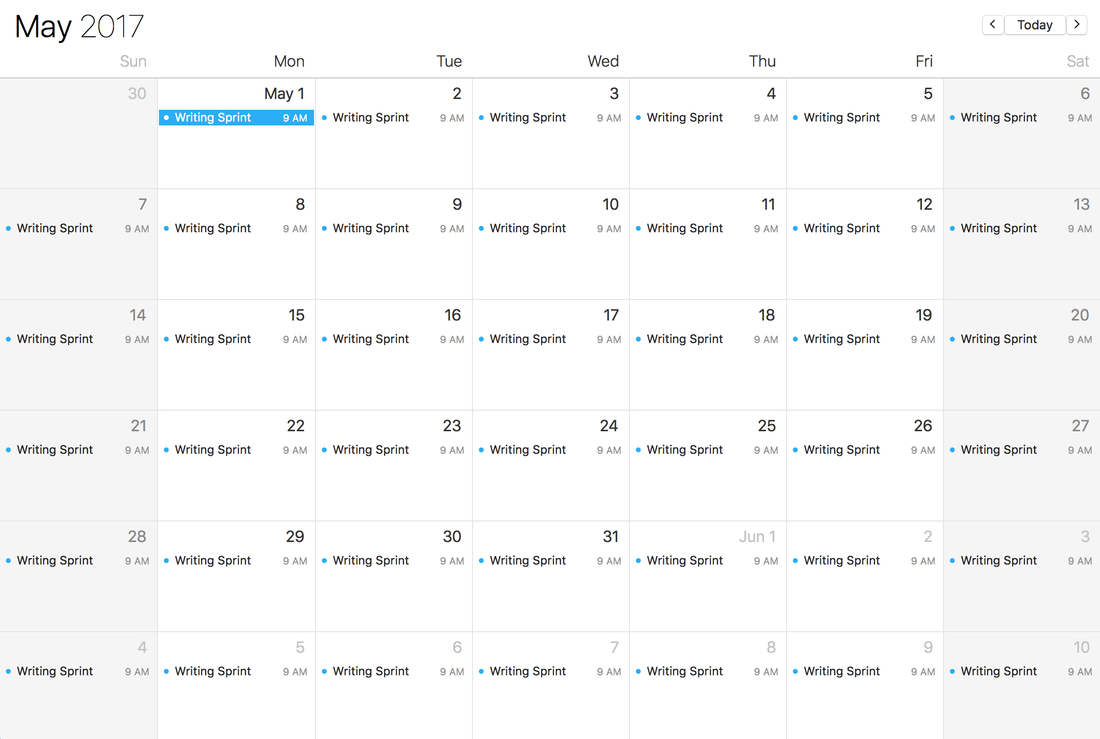 2. Phone a Friend. We use this one A LOT! With each other! If you know you should be writing, but can’t find the motivation: call a fellow writer. Or you can even call someone you know will push you. We’re lucky because we’re both writers so when one of us needs some encouragement the other can help steer us to victory. Most of the time we text. It doesn’t have to be complicated, just a simple: “You up for a sprint?” The reply is usually: “Hell, yeah!” And we’re off! Writing buddies are the best way to stay motivated and definitely the best way to sprint!  3. No excuses.
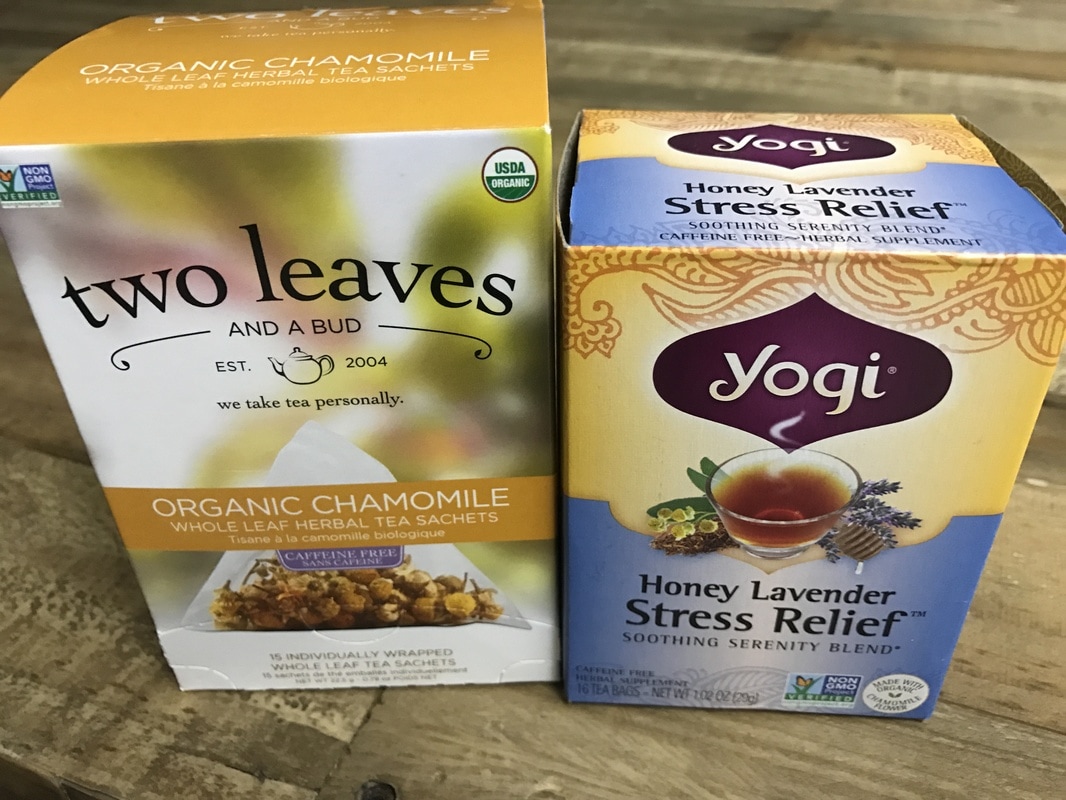
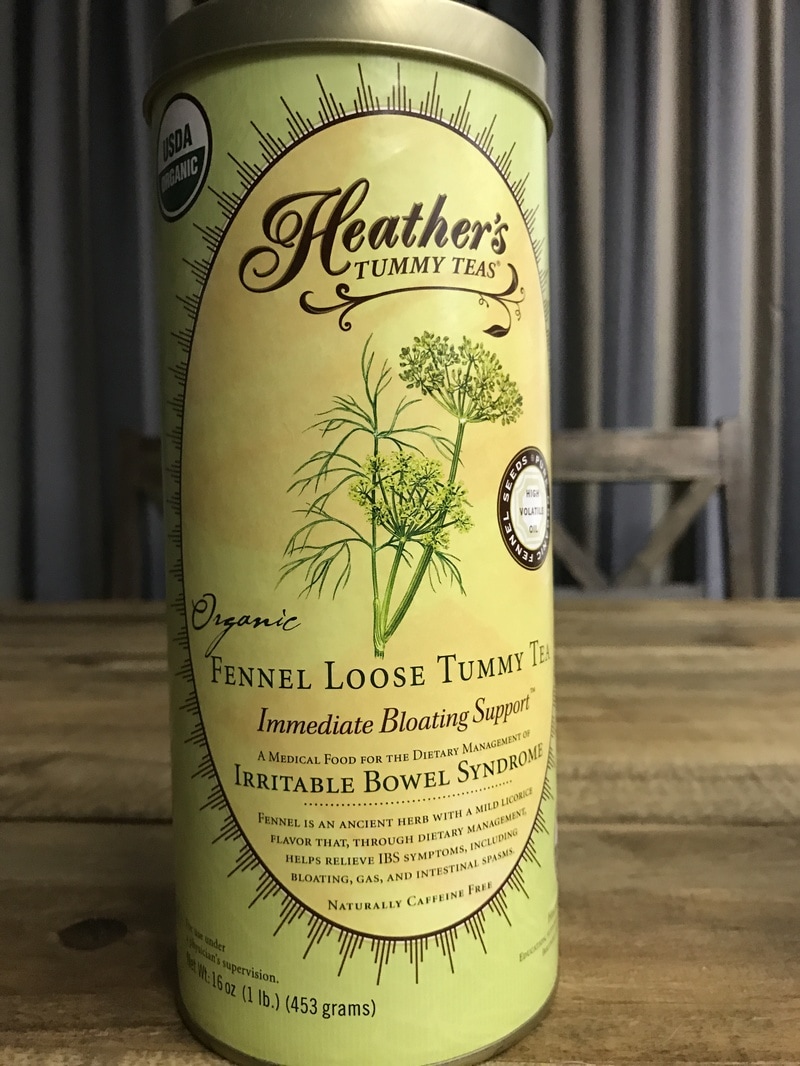
This may not sound like an actual task, but it’s probably the most important thing you can do. Let’s face it everyone makes excuses. Everyone procrastinates. This is just a fact of life. But if you can make an exception when it comes to writing sprints, trust us, your life will change. Make excuses for everything else in life, lol, but DON’T make excuses for not writing. If you’re like us, writing is life. But sometimes we get distracted and before we know it, days have gone by when we haven’t written anything. The important thing is to not punish yourself! It doesn’t do you any good and can actually keep you unproductive and paralyzed. But…. Everyone can always spare an hour, no matter how busy. And if you really really can’t spare an hour, then sprint for a half-hour or like we said before a good, solid ten minutes. You’ll feel so much better, not just about the writing, but that you didn’t talk yourself out of it! We hope these help! by Becca C. Smith Anxiety. Everyone has it to a certain degree, some more than others. I’ve struggled with it my entire life. From panic attacks to digestive issues, anxiety is something I deal with on a daily basis. Over the years I’ve discovered some tricks that help me manage my stress. It took a long time to figure out and I still have what I call “surges” everyday (fight or flight: that feeling that you can’t breathe), but I now know how to stop them in their tracks. Or at least slow them down long enough for me to calm myself. The first three steps are for stopping a panic attack. 1. Five Count Breathing. This is an easy way to break out of the terror of feeling like you can’t breathe. When I’m having an attack, I literally feel like I’m dying. It’s as if I’m not getting enough oxygen and I’m going to pass out and die right there. Logically, I know this isn’t true, but in the moment, my brain doesn’t listen to my head :-) Five count breathing is when you breathe in for five seconds, hold it for five, release the breath for five, then hold it for another five. Repeat this as long as it takes until you can breathe normally again. Trust me, I’ve had to do the five count technique for a full half hour sometimes. So, don’t stress if it doesn’t work right away. 2. Heating pad. This technique is my best friend. I try to stay away from electric heating pads, only because I don’t want to leave the heat on for more than a half hour. Whenever I feel even the slightest feeling that I’m about to have a panic attack, I heat up my neck warmer and place it on my chest. I use the neck warmer because it slowly loses its heat in about a half hour, which is the perfect length of time for me. 3. Walk/pace. This feeds into the fight or flight. You’re essentially using the “flight” part of the equation. I usually use both the five count breathing and walking techniques together. You don’t have to go outside for a walk, pacing around your house works just fine as well. It helps jolt you out of your head. You can even try another breathing technique where you say a word in your head every time you breathe in and out, such as, when you breathe in you say the word, “heal” and when you breathe out you say the word, “calm.” This helps me quiet down the rowdy party going on in my brain and/or the thoughts of utter doom :-) For long term stress and anxiety relief, I do the following: 4. Drink lots of tea. This has become a must for me. It has not only helped my anxiety, but my digestion as well. You’ll find that most teas used for digestion issues are also used to calm your body as well. I use Fennel seed tea, chamomile and Yogi’s Honey Lavender Stress Relief. Rotating between these teas every day has changed my life!
5. Magnesium. I started taking Magnesium because I have mitral valve prolapse and the metals help keep my heart beating properly. But, Magnesium has also been proven to help anxiety as well. I take a slow-release supplement to protect my stomach, but I also eat a diet high in Magnesium as well. Having a smoothie with bananas, spinach, yogurt and blueberries is not only tasty, but will help your stress levels. Here’s some information on the benefits of Magnesium: http://www.nlm.nih.gov/medlineplus/druginfo/natural/998.html  6. Exercise. I know a lot of people don’t like this option, but it really does work. You don’t have to go to a gym or do anything strenuous. You simply have to walk. Walk for a half hour, or an hour, or more if you like. I use the elliptical every day for 45 minutes, basically, the time it takes to watch one of my favorite television shows. Cardio is the best for anxiety and walking or running can really help. These are just some tips that I use to manage my anxiety. Everyone is different of course, but I hope it helps!
By F.M. Sherrill
We joined 750,000 people and counting at downtown Los Angeles for the Women's March and put together some footage and pics of our amazing experience. Even though we are introverts we pushed ourselves to be there because it's so important for women to stand together and have their voices heard. As nerds this experience made me think of Star trek beyond. The whole theme of that movie is unity. All these different cultures come together to be part of the Federation because it makes them stronger, that unity creates a peaceful universe. Scotty, the only red shirt that every survives, has a great line in the film where he says “you cannot break sticks in a bundle.” I really felt like from Star Trek to Star Wars, across nerd genre, you always get these people who have been hurt somehow thinking that destroying and wiping out all other cultures is the way to go for this sort of “mono power” as a way to control life. But if you’re a fan of nerd movies and shows like we are, you learn through the dynamic turnarounds of story that light, love and unity always wins out in the end. So, to all of the other cities in the US and world that marched with us today, we are so glad and thankful to be a part of this, to be alive at a time when people are this powerful and coming together for something they believe in, it’s a really beautiful thing. Thank you<3 Five Easy Steps to Sprouting with a Victorio four tray crop sprouter: I recently became interested in sprouting and after researching how to sprout through mason jars and racks, I picked up the Victorio sprouter in hopes that it would be easier and less time consuming (also better drainage). And I wasn’t disappointed. I’m trying to shift my diet to a less… chocolate and fried snack-aholic’s anonymous diet. And this is a good step in the healthy direction. I also love to garden, but winter just hit here and I don’t want to lose the progress I made adding veggies to my meals. Hence: sprouts! This sprouter was really easy to use and so far I haven’t had any problems. Let me break it down for you in five easy steps.
Here’s the link to the sprouter on amazon for $14: http://a.co/afZDM5D Here’s a link for one pound of alfalfa seeds on amazon for $12: http://a.co/3qNMynT by 2 Nerd GirlsIt’s that time of year again and usually that means a crazy amount of sewing for us since we love to make things for our loved ones. This year we decided to treat ourselves to a couple of nerdy Christmas dresses. When we saw New Look Pattern 6723 we knew we had found a winner. Since Becca already made her Rudolph the Red-Nosed Reindeer dress BEFORE this video *ahem-impatient-girl* we decided to film a tutorial for F.M.’s dress. BUT… Becca did record her journey of making a dress with Santa’s favorite reindeer plastered all over it! Here’s a quick time-lapse! We stuck to the pattern’s directions with only a few deviations of our own. F.M. decided to use biased tape as a nice accent to the dress, bringing out the bright greens from the Star Wars fabric. She also made a sash and framed it with the same biased tape making the whole look come together beautifully.  This pattern isn’t particularly hard if you’re an intermediate or advanced seamstress. Beginners could definitely tackle this pattern, but some basic knowledge in basting, gathering and zippers is needed. It’s amazing at how intimidating a zipper can be, but they’re really quite easy once you get the hang of them. Our video tutorial takes you through the process of using this pattern, which basically boils down to three steps: Step One: Sewing the bodice together. Step Two: Sewing the skirt together. Step Three: Sewing the two together for the finished product! Watch and enjoy! May the sewing gods be ever in your favor and may you end up with adorable nerdy Christmas dresses like ours! Happy Holidays! 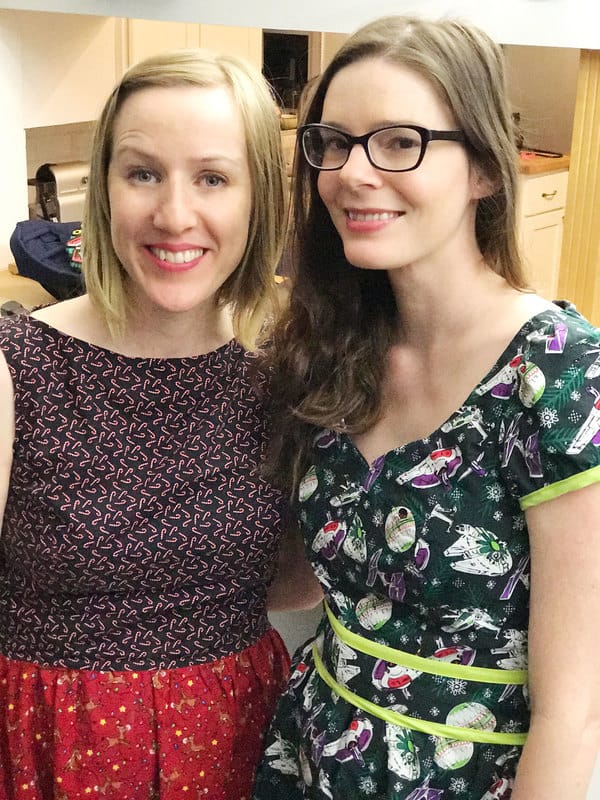 by Becca C. Smith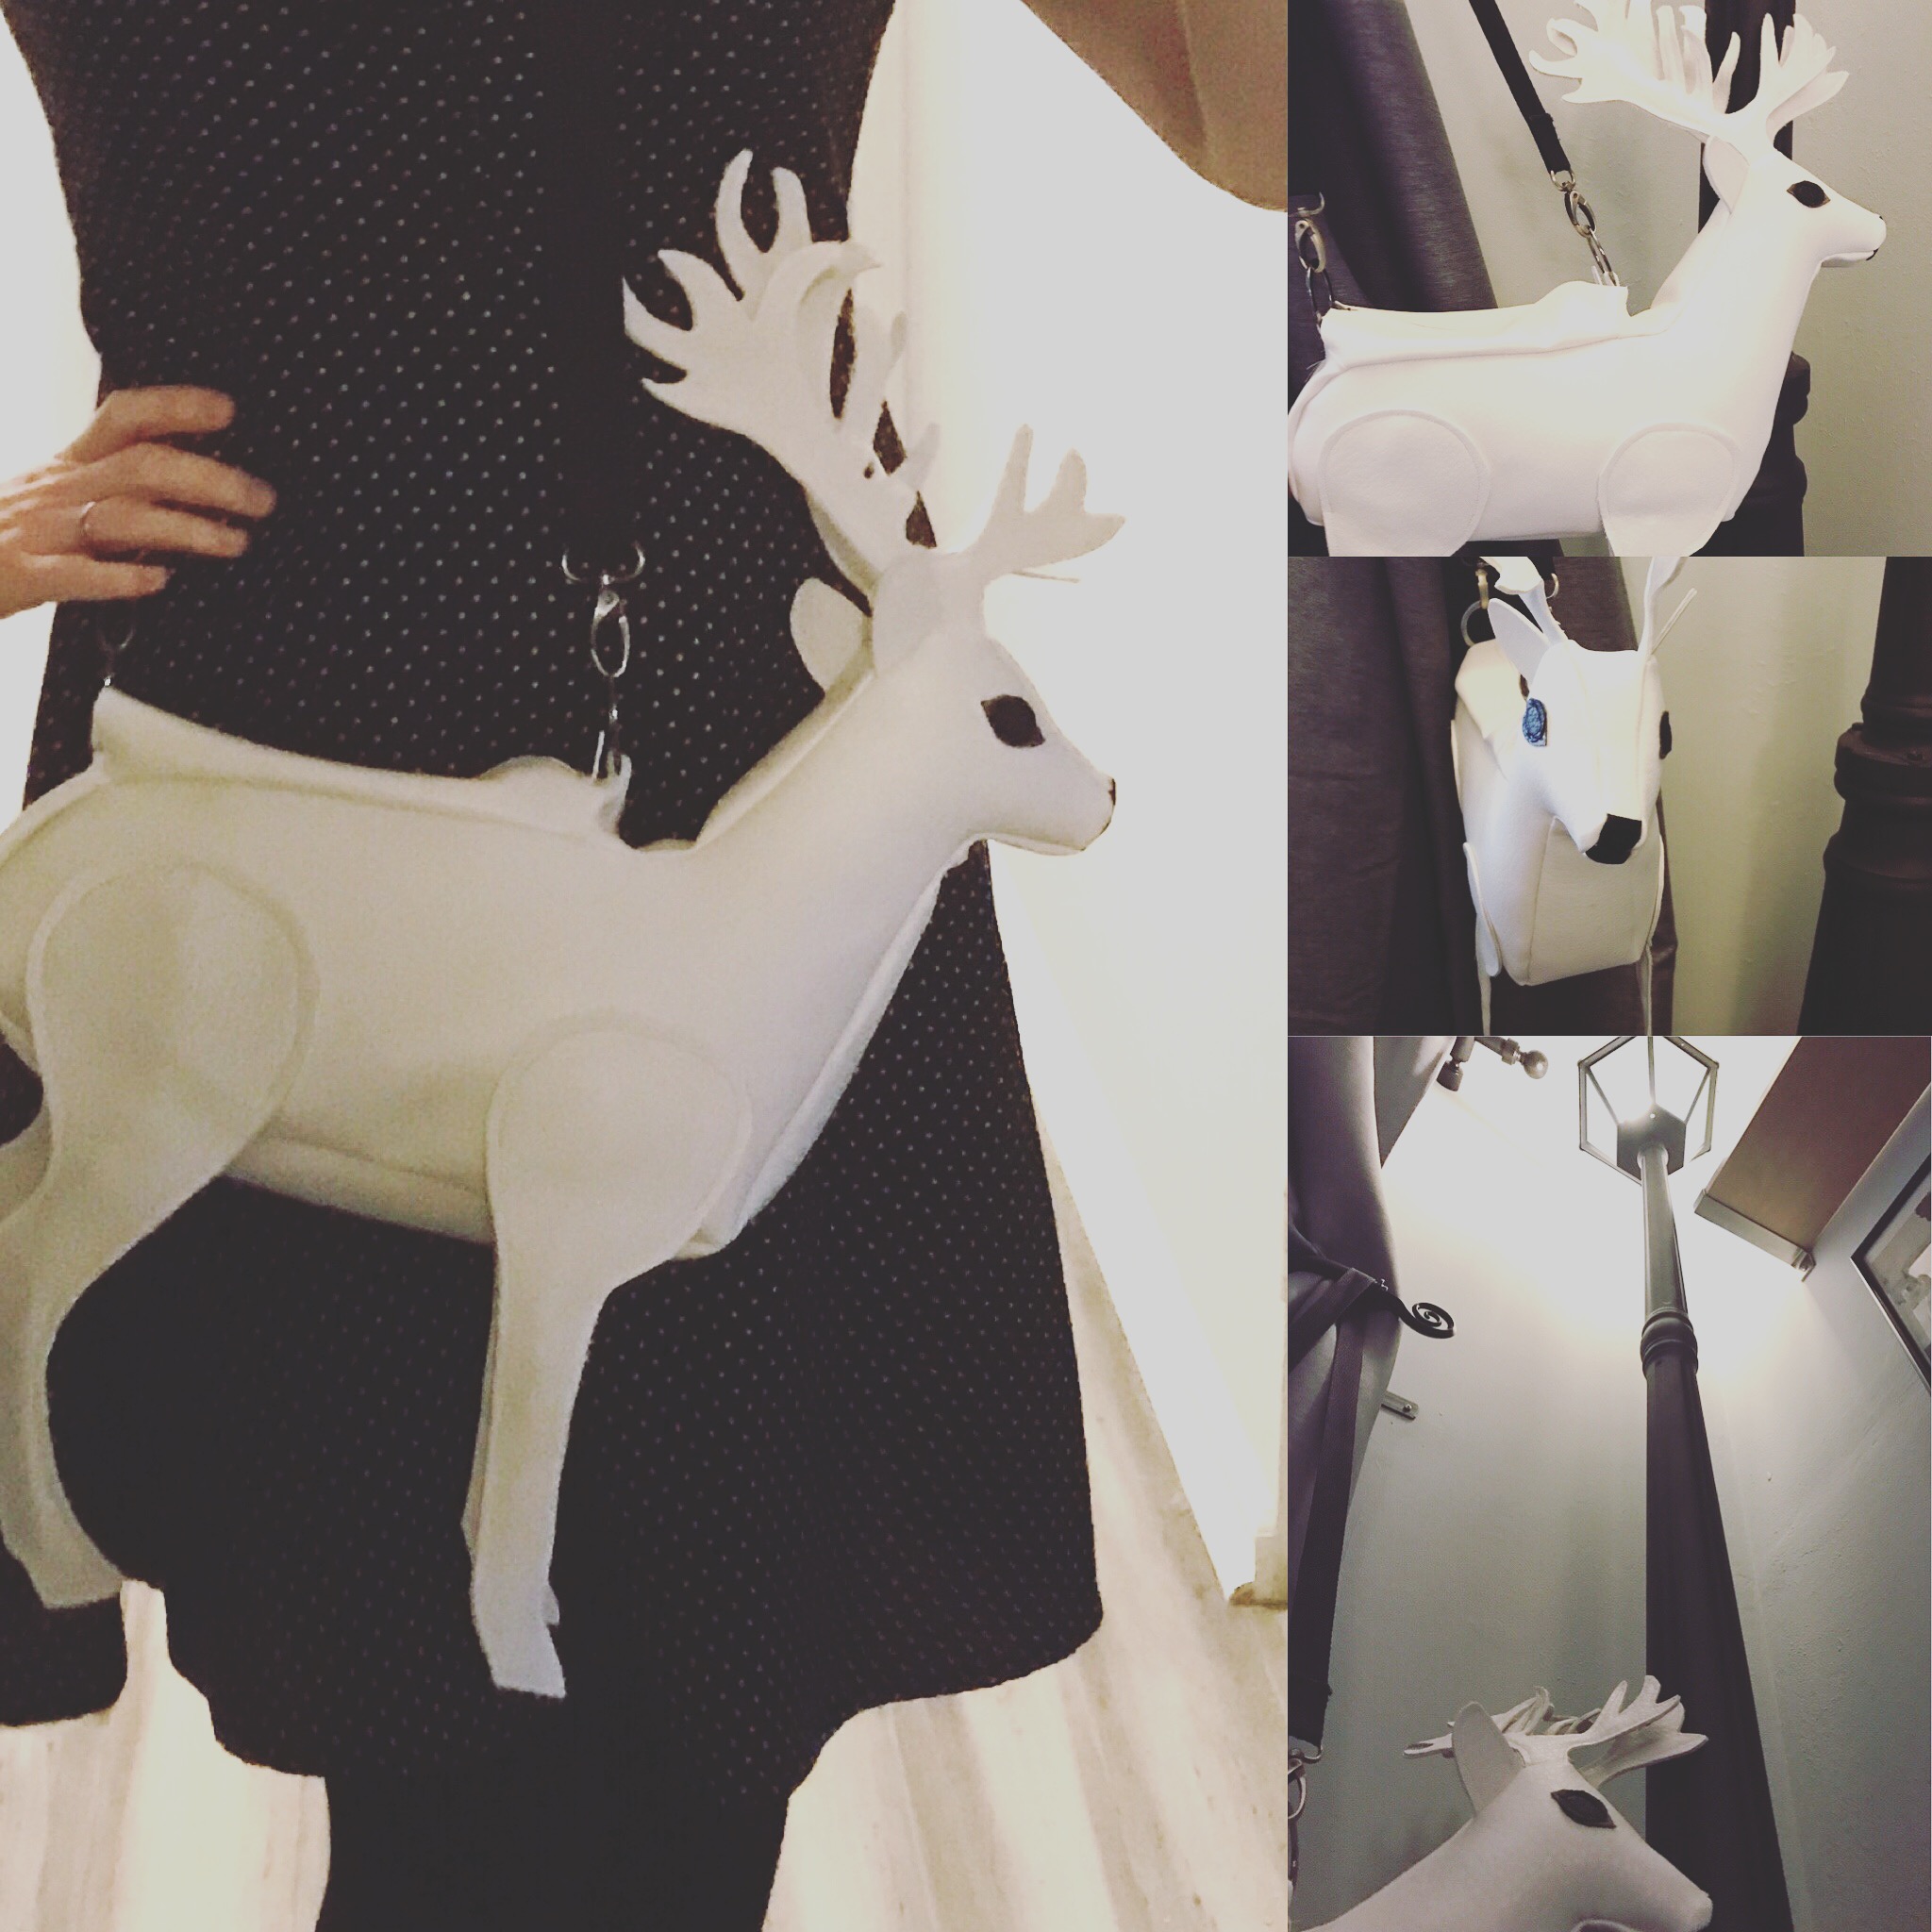 I love The Chronicles of Narnia. This was the very first book series I read as a child. At the end of The Lion, the Witch and the Wardrobe, the Pevensie siblings are searching for the White Stag, which is said to grant your wishes if you can catch it. I pretty much searched for the door to Narnia my entire childhood and to be honest, I’m still looking for it lol! So, it’s with much love, that I decided to make a bag of the White Stag! The video says it all: from inception to finished product. But if you don’t have time for the thirty-minute video, here’s a break down of everything that I filmed! Step One: The pattern. When I first decide to make a bag I have to visualize a pattern in my head. This can take two minutes or two days depending on how difficult the idea is. For the White Stag I knew I could use actual pictures of stags as my base. I simply found a profile shot of a stag on the Internet and enlarged the body to the size of a standard sheet of paper (8.5” x 11”). I printed it out, then proceeded to print out all the other parts of the stag as well. Taping the pages together I had a basic pattern for my bag. Then I cut all the different components of the stag: the legs, the ears, the eyes, the antlers, and the nose. Tracing those on cardstock, I now have a pattern I could use. Step Two: Cutting the fabric. This one is pretty self-explanatory! Using the pattern I just made I cut out all of the pieces I need to put the bag together. I also cut two side panels the size of the bag’s opening for the zipper! I like using open-end zippers because it gives me more space to put things inside the bag. Considering the fact that I have to stuff the head and butt so the stag can keep its shape, I need as much room as possible! Step Three: Gluing. This is a very important step. When dealing with vinyl, it tends to slip while sewing. In order to prevent this, I glue everything together first. In the case of the White Stag this was extra important because I put in wires as well to help keep the legs stiff and the antlers malleable. Next, I glue all the pieces that need gluing together and place a few heavy books on top to keep them flat. It takes a while for the glue to dry, especially considering how much of it I use! I usually give it a day or two, just to be safe! I don’t want to muck up my sewing machine with glue! Step Four: Sewing. Now that everything is all cut out and glued, it’s time to sew! The first thing I do is what I like to call: preparing the pieces. Basically, this means that I sew everything that needs to be sewn individually (like the eyes, legs, ears and antlers). Then I sew those pieces on the body itself. After that I put the whole thing together! Easier said than done, but pins make it much easier! Pins and markers. Sometimes it’s nice just to make a small little dot of ink on each piece of fabric, then match up the dots and sew! Step Five: Enjoy! That’s it! The bag is done! Now that I’ve made the White Stag I can officially make my wish! Here's a time-lapse of the entire process! by Becca C. Smith
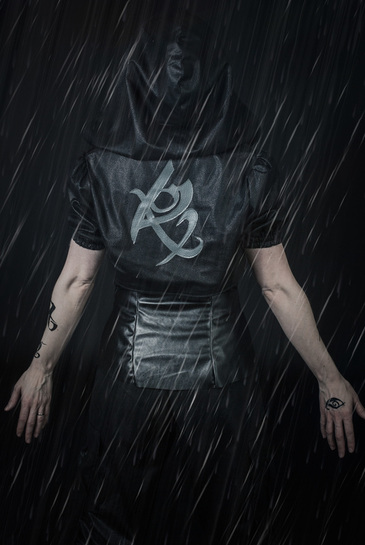
About a year ago, F.M. and I decided to cosplay as Shadowhunters from one of our favorite book series: The Mortal Instruments. As long as we plastered on the temporary Rune tattoos, we figured our clothing just had to be black, tight, and at least one item made of leather lol! But the more I thought about it, the more I wanted to design something original, something we could both wear. I had found the fabric I wanted to use when F.M. and I had been wandering the downtown Fabric District. It was black (of course) and it had a faux, crackly leather look to it, though it was made from a light cotton. Considering we planned on wearing our cosplay at SDCC in 90 degree heat, light cotton sounded like heaven compared to using vinyl or real leather. Now I had to figure out what I was going to make for us, so I looked through all my patterns searching for some kind of inspiration. I finally found what I was looking for: a combination of three different patterns. I used the New Look pattern for princess sleeves, the Simplicity pattern for a bolero jacket base and the Butterick pattern for a large hood. 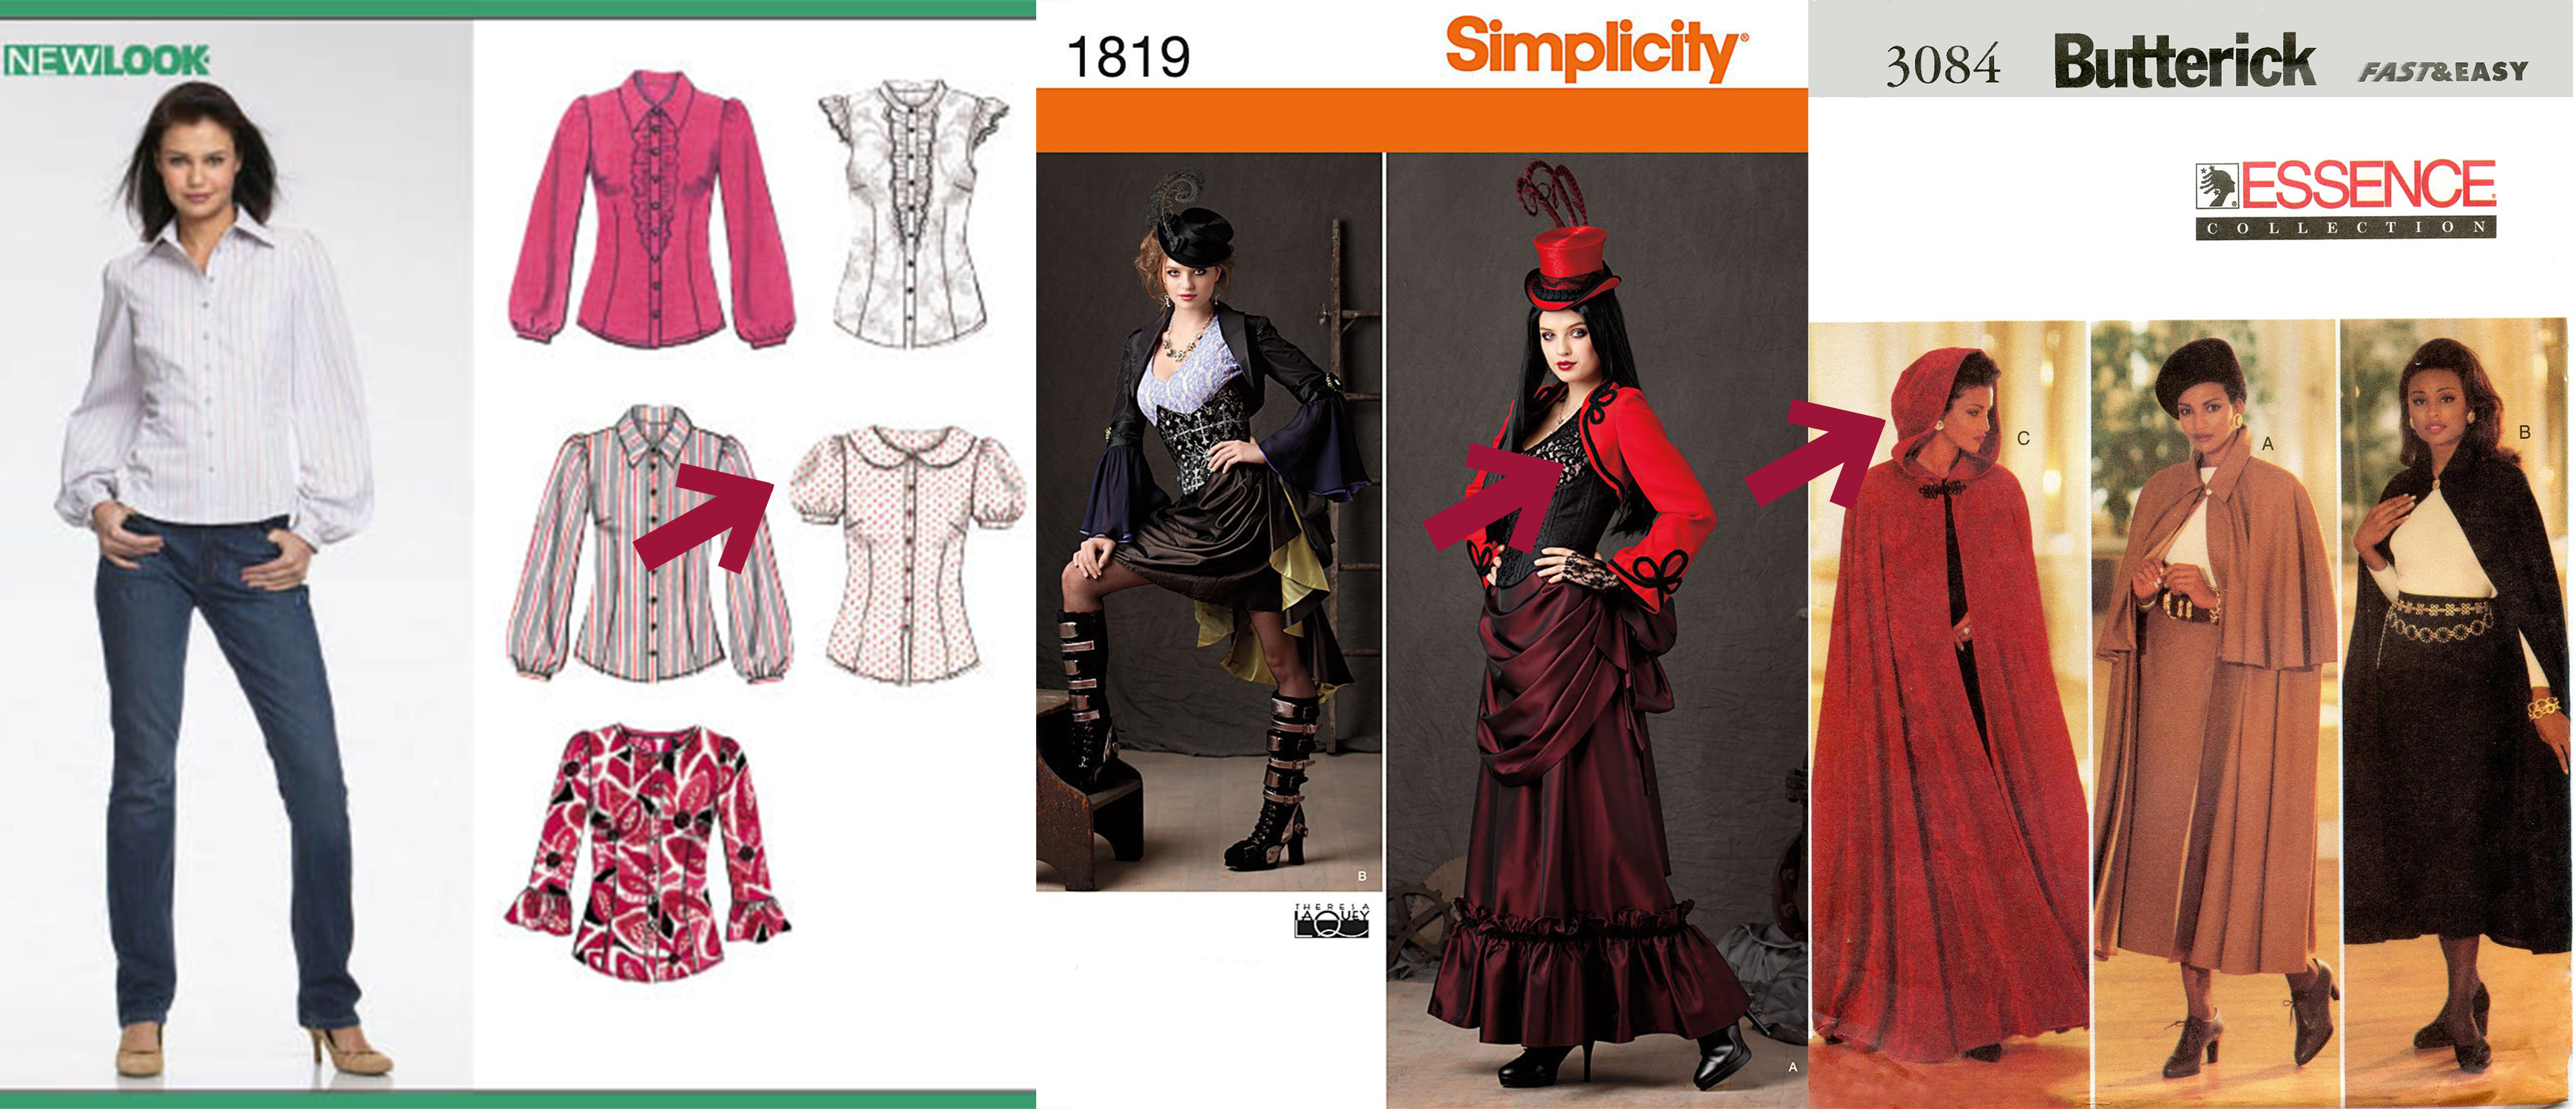 I wasn’t sure if it would work, so I tried it out on some old fabric I had lying around. I was actually surprised at how it all fit together so easily! To make the jackets officially Shadowhunter jackets, I picked a different Rune for both of us. Cutting the Runes out in gray vinyl, I sewed them to the back of the boleros. The rest was easy, I made us two faux leather tank tops and a pair of cargo capris made out of the same faux, crackly leather cotton material. Voila! We were officially ready for Comic Con! 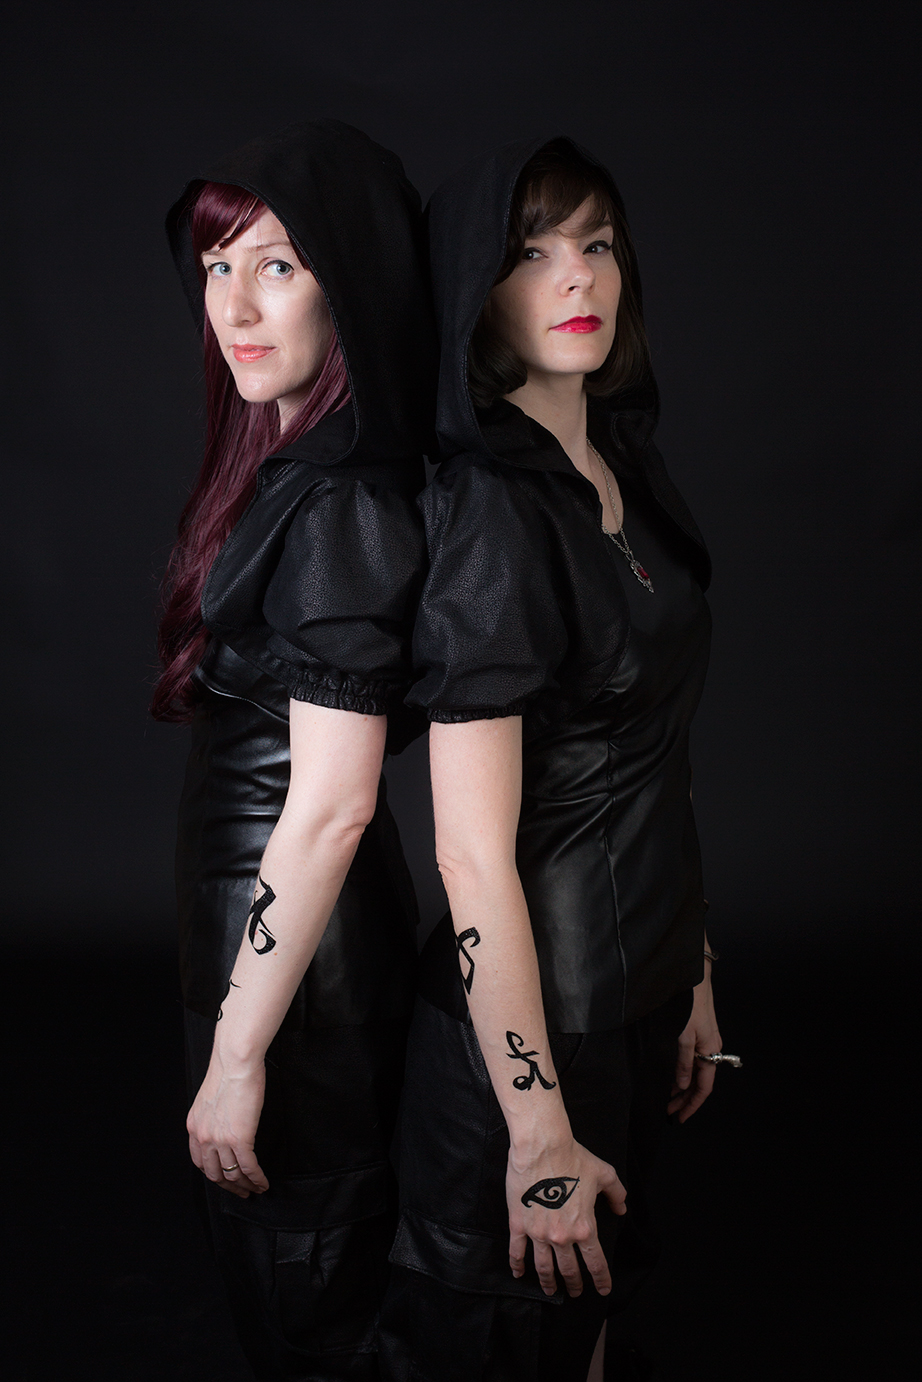 by Becca C. Smith Outlining is one of those tools that authors either use religiously or are adamantly against. I am in the outlining club, simply because my brain is way too scattered to write without one. If I didn’t use an outline I guarantee nothing I wrote would make any sense and I might as well title all my books “Tangent Central.” For those of you who want to take a stab at outlining, this is how I do it in 5 easy steps. 1. Decide how long your book is going to be. Word count. For me, it’s usually between 60k-100k. 2. Decide how many chapters your book will have and divide that number by your word count. This will give you an estimate as to how long each chapter will be. For example, if my word count estimate is 60k and I want the book to have 20 chapters, then each chapter will be approximately 3,000 words. 3. Type out each chapter title in a document with no descriptions yet. This will be the base of your outline.  4. Write short sentence descriptions of approximately where you want your major events to take place. This is where you’ll type in all the major scenes you’ve been kicking around your head since you thought of your story idea. Such as where you want a character to die, or where you want them to commit to the journey, or where you want the resolution to start. 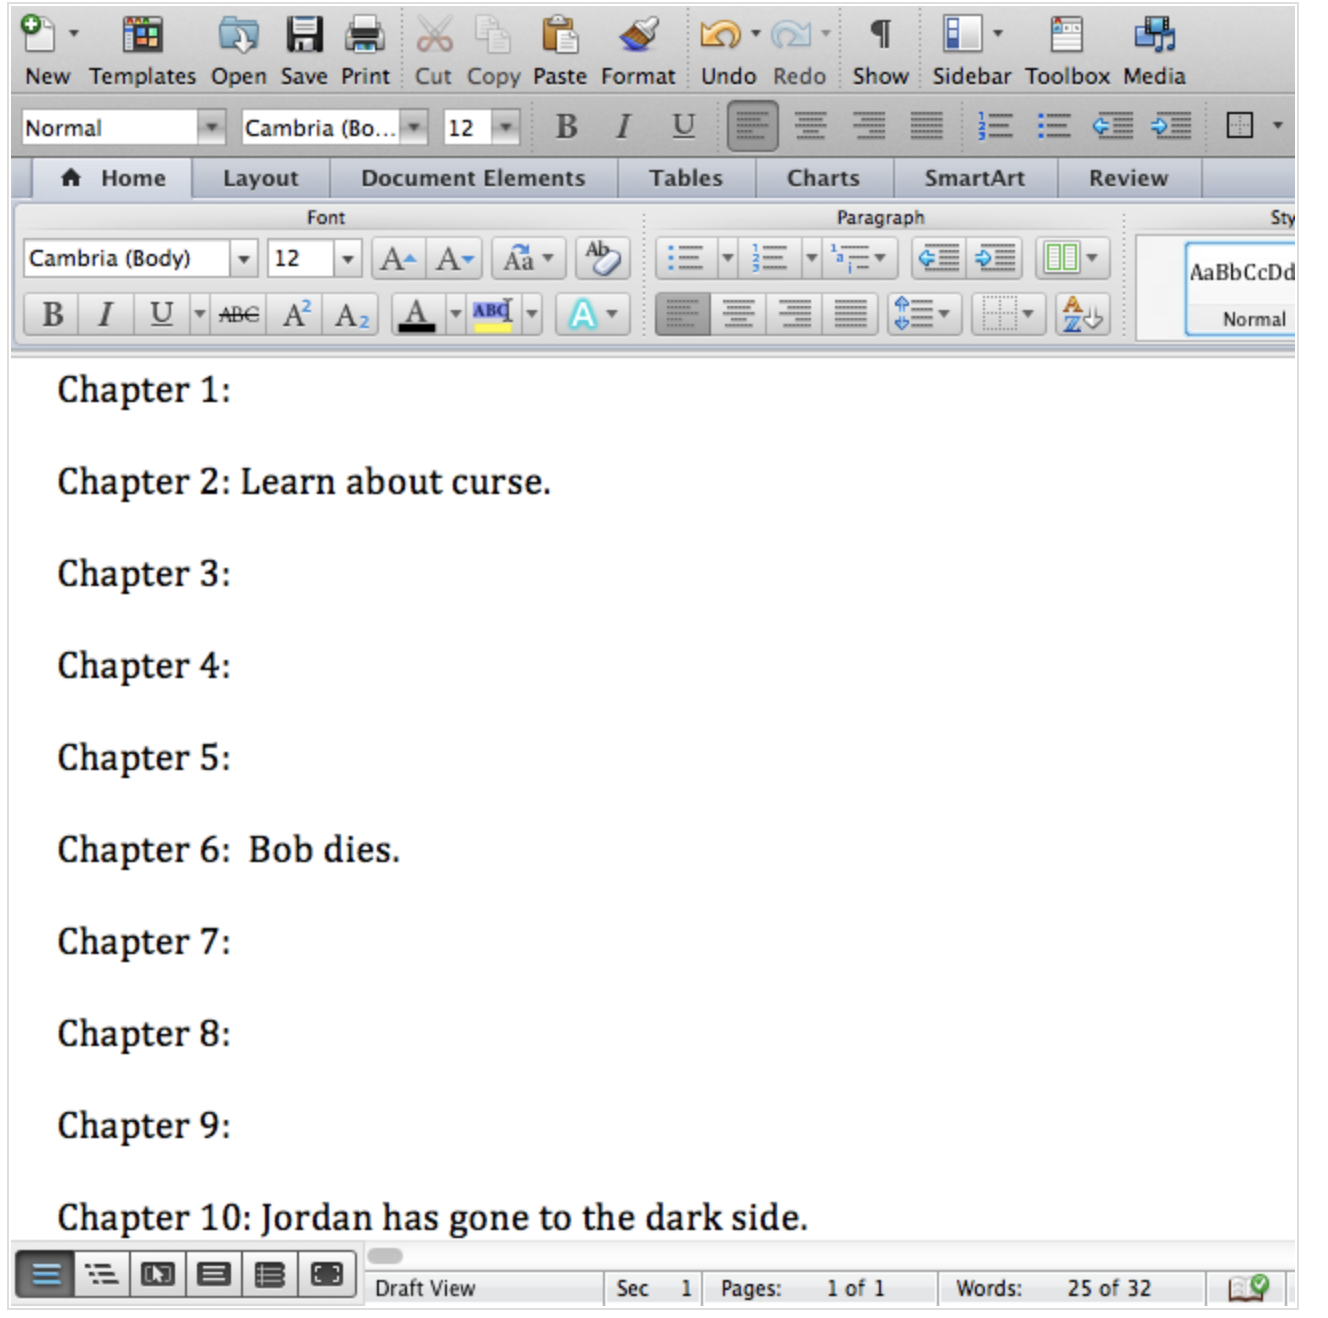 5. Once you have the key events in place, fill in the other chapters with short sentences that lead up to that event. Doing it this way helps the brain work out how you want to get your characters to certain places in your story. Sometimes we get bogged down in key scenes and have no idea what the glue is that will bind it all together. For me, laying out the basics in the position I want them visually, helps me figure out how my characters will get there. 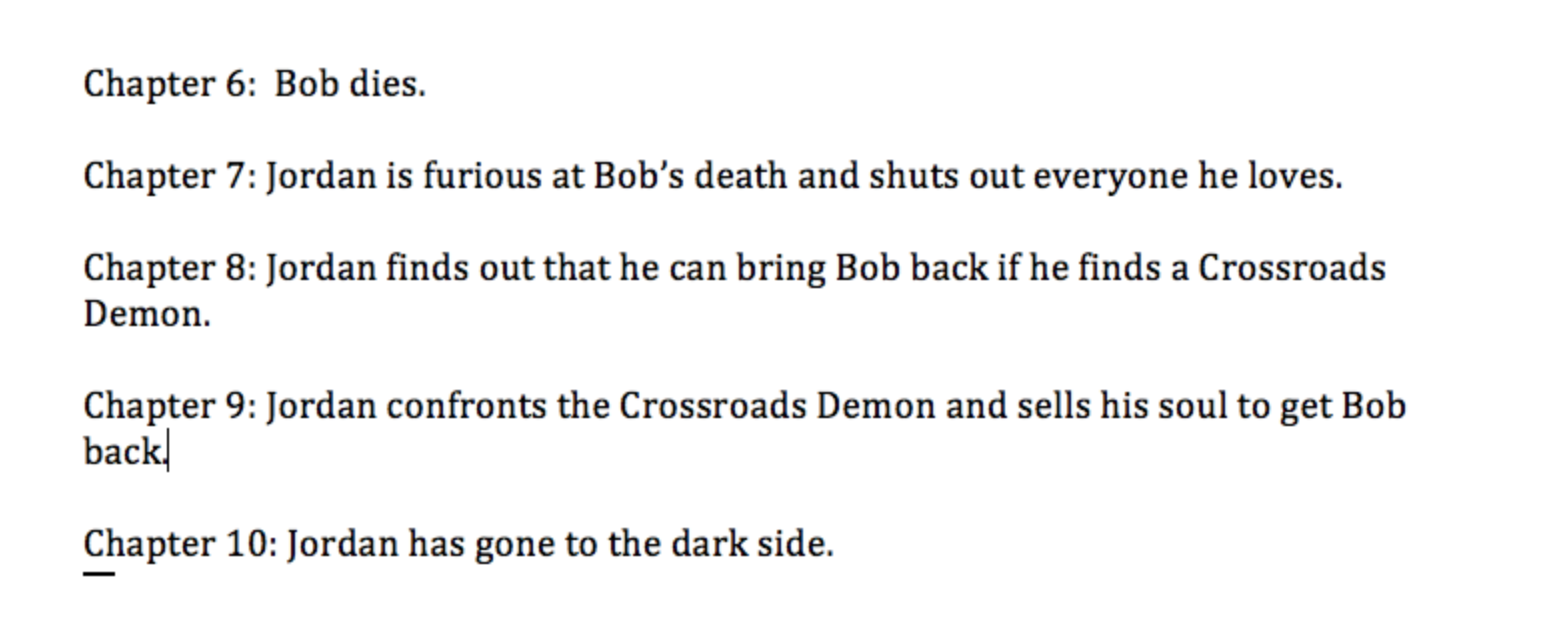 Everyones' process is different and there is no right or wrong way to write a book. This is just how I do it :-)
Hope it helps! This is our tenth year going to San Diego Comic Con and we've learned a few tricks over the years to making it a much better experience!
Here are three things that will make your life so much easier at the Con! 1. Bring an umbrella! Shade people! Most of Comic-Con is walking around outside and sometimes you just need some shade. So why don't you carry it around with you, that way you never get too overheated especially if you're wearing heavy cosplay! 2. Chairs! Lines are pretty much a given going to any Con and being on your feet for hours can be brutal. The chairs we have are 4 oz and cost 8 bucks on Amazon. And they're comfy! You can drop down anywhere and give your feet a rest for a few minutes! 3. Water! Hydration is so important at these Cons! It's hot inside, it's hot outside, it's hot everywhere, so make sure you have enough water to last you the day! We're ridiculously excited to go this year and we have a lot of cosplay for each day of the Con! Hope to see you there! Here's a link to buy that awesomely small chair :-) http://tinyurl.com/njtolse |
AuthorWe are F.M. Sherrill & Becca C. Smith: two writers who live in L.A., and are basically addicted to all things sci-fi and fantasy! Archives
February 2017
Categories |

 RSS Feed
